Though I have heard good things about Parallels and VirtualBox, I have always been a user of VMware. In particular, VMware Workstation. Workstation is great for firing up multiple Linux instances and testing out load-balancing or proxying scenarios. I haven’t really figured out any use for Windows VM’s other than testing IE6.
While there are a few Virtual PC hard disk images (.vhd) for Windows XP around, VMware cannot directly import .vhd files. It needs the actual Virtual PC virtual machine file (.vmc). After again losing my Windows XP virtual machine that I use for IE6 testing, I thought I’d document the process of running Windows XP in VMware so I don’t have to figure it out again the next time it happens.
Note: though these instructions are for VMware Workstation, some of this may apply to the free VMware Player.
- Download the IE6 Virtual PC Virtual Hard Disk (.vhd) image from Microsoft.
- Download and install Virtual PC from Microsoft, if you don’t have it already.
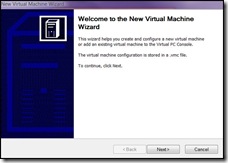
- Start Virtual PC. If you have no virtual machines, you will get the New Virtual Machine Wizard. Click Next.
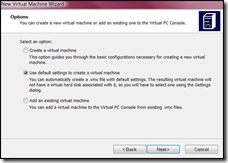
- Select “Use default settings to create a new virtual machine”. Click Next.
- Pick a location to save your Virtual PC virtual machine. This should be the location you will create the VMware virtual machine. I keep all my VM’s in the same directory with meaningful names.
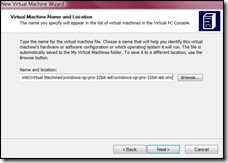
- Click Finish to create the new virtual machine.
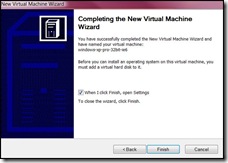
- If you selected “When I click Finish, open Settings,” in the previous step, you will see the settings dialog. If you did not, select the new VM and click Settings. Select “Virtual hard disk file:” and find the .vhd file you downloaded in step 1. After finding it, click OK.
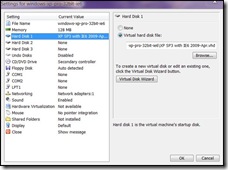
- You should see your VM in the Virtual PC Console.
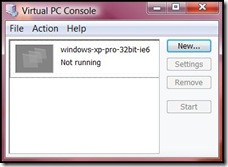
- Select your VM and click Start. Your Windows XP virtual machine should boot in its own window.
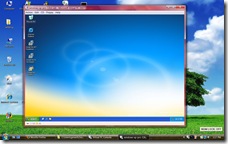
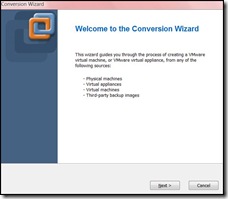
- Shut down the virtual machine using the Start button. Then exit out of Virtual PC. Start VMware Workstation. Once it’s started, select “Import or Export…” from the “File” menu. You should see the Conversion Wizard. Click Next.
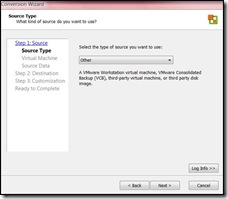
- You are at Step 1 of the conversion. Click Next to select a Source Type. Under “Select the type of source you want to use:”, select Other. Click Next.
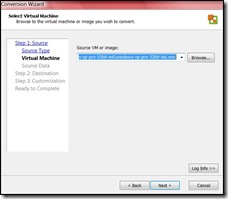
- Under “Source VM or image:”, find the Virtual PC (.vmc) file you created earlier. Click Next.
- Select “Convert all disks and maintain size.” Click Next.
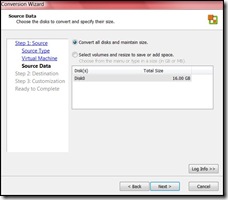
- You are at Step 2 of the conversion. Click Next to select a destination type. Under “Select the destination type,” select “Other Virtual Machine.” Click Next.
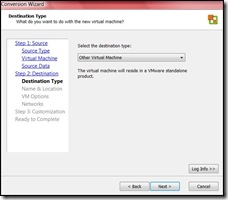
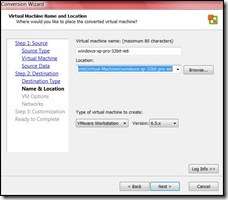
- Under “Virtual machine name,” fill in a meaningful name. Under “Location:”, find the place you want to store your virtual machine. Click Next.
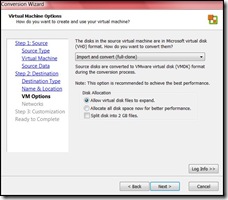
- The wizard tells you that the source files are in Microsoft virtual disk (.vhd) format. Under “How do you want to convert them?”, select “Import and convert (full-clone).” Under “Disk Allocation,” Select “Allow virtual disk files to expand.” Click Next.
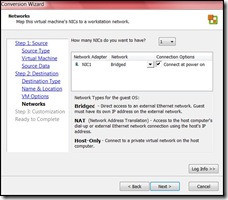
- The next step allows you to configure your VM networking. You should probably stick to the default of 1 NIC, bridged, that connects at power on. Click Next.
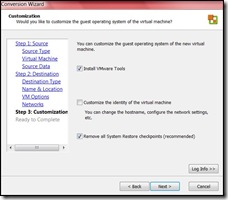
- Step 3 allows for some VMware customisation. You definitely want to install the VMware Tools. Click Next.
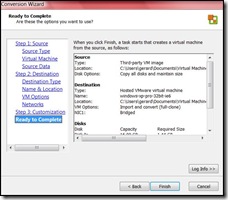
- You’re Virtual PC image is ready to be converted to VMware. Click Finish to begin the conversion!
- Get up from your desk and take a walk around. Go get a cup of coffee.
- After the conversion is completed, you should see your new Windows XP virtual machine in VMware Workstation.
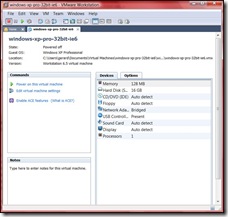
- Click on “Power on this virtual machine” and your Windows XP VM should boot inside of VMware Workstation. You can uninstall Virtual PC at this point, if you want (which is likely, since you’re running VMware).
So to use a class in PHP, usually, we first have to include the file that contains the definition for that class.
require('myclass.php');

$class = new MyClass;
But after you start instantiating a few classes here and there, problems arise.
- If you call a lot of classes, the number calls to
require()becomes big. - When you start including files in other files, you are not sure whether or not you’ve already included a certain file, so you use
require_once(), which is inefficient. - Worst of all, included files become disorganized, and you may accidentally remove a
require()that is needed, not in the current file, but in a file downstream, leading to a Fatal Error (if you userequire()and notinclude()).
The solution: __autoload() The PHP autoload feature is one of the coolest features in the whole language. Basically, if PHP tries to load a class and cannot find the class definition, it will call the __autoload() function that you provide giving it the name of the class it can’t find. At that point, you’re on your own. But how to find the file located on disk? There are four strategies for finding the right class file.
- Keep all class files in one directory. Not a very attractive method.
- Maintain a global array of class names to class definition files. In this case, the name of the class is the key, and the location of the file on disk is the value. This global hash could be created in memory upon server start time, or created as the application executes. Obviously, seems kind of a heavy solution to me.
- Use a special container class that all other classes inherit from. This method is suitable mostly when attempting to unserialize objects (when unserializing objects, PHP must have the class definition to recover the object). This special container will automatically know the class file for the contained object. Then, the only class file that needs to be located is the container’s class file. (Autoloading in the context of object un/serialization is a special case of class loading.)
- Use a naming convention. The idea here is to name your classes in a way that corresponds to your file system. For example, Zend names their classes where underscores represent directories in the project. So the
Zend_Auth_Storage_Sessionclass is defined in the fileZend/Auth/Storage/Session.php. Autoload simply needs to replace the underscores for the system directory separator char and give it torequire().
At work, we use #4, naming conventions. Why? Well, why not? The other methods are heavier or more complicated, and I don’t see any gain. By using a simple naming convention, never again will we need to call require() or include() in our app. As a bonus side-effect, the code is organized in a consistent matter. Provided we follow the naming convention that Zend (and PEAR) use, our __autoload() function looks like:
// by using PEAR-type naming conventions, autoload will always know where to
// find class definitions
function __autoload($class)
{
   require(str_replace('_', DIRECTORY_SEPARATOR, $class) . '.php');
}
If we are to do unit testing, then it would be nice to have a simple way to run all the tests at once. And seeing the results in a command line is fine, but it would be nice to be able to generate some pretty reports I could view in a browser. And running coverage tools from the command line to see exactly what we’re testing is fine, but it would be nice to be able to generate coverage reports I could view in a browser. It would be nice to be able to do all these things with one simple command.
The command: phing.
If you’re familiar with Ant for Java, phing is functionally identical to ant. With a very simple build script, I can run all the unit tests, and generate test result reports and coverage reports in HTML automatically. Then I can fire up my browser and see if any tests failed, or whether we need new tests.
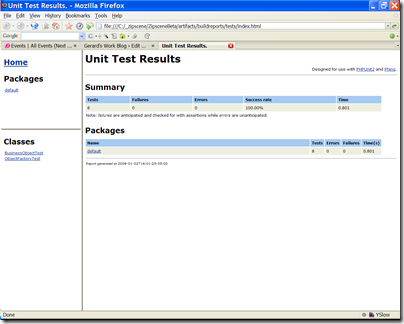
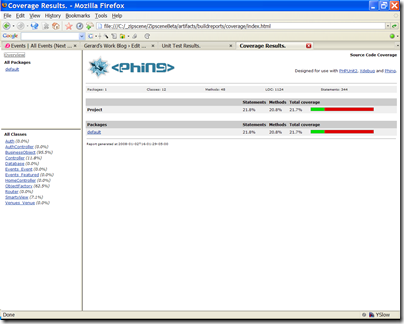
The following are examples of test results reports and coverage reports.
Phing currently requires PHPUnit for unit testing and xdebug for coverage. Someone would have to write a task to use other frameworks such as SimpleTest.
The phing build file is a first step towards automating builds with a build server. A build server can periodically check the project for changes. If new code exists, it will run tests and generate reports for tests, coverage, lint, anything. It can put all this on the web for easy inspection. It can keep versions of the whole project that be can be readily deployed. So if we have a staging and production server, and we stick to deploying ONLY bundles from the build server, it can make deployment and maintenance easier.


